
Hey everyone!
It's been a minute! These last few weeks have been super crazy for me, so I'm glad I was able to find some down time to post on my blog!
I have been trying to document my progress on my artwork a lot more lately. It's been (sort of) successful, so I thought I would share some of my progress shots for some shadow boxes I finished up these past few weeks! The first one is a custom shadow box similar to "The Stuntman" shadow box I did for my Life in a Box show last October.
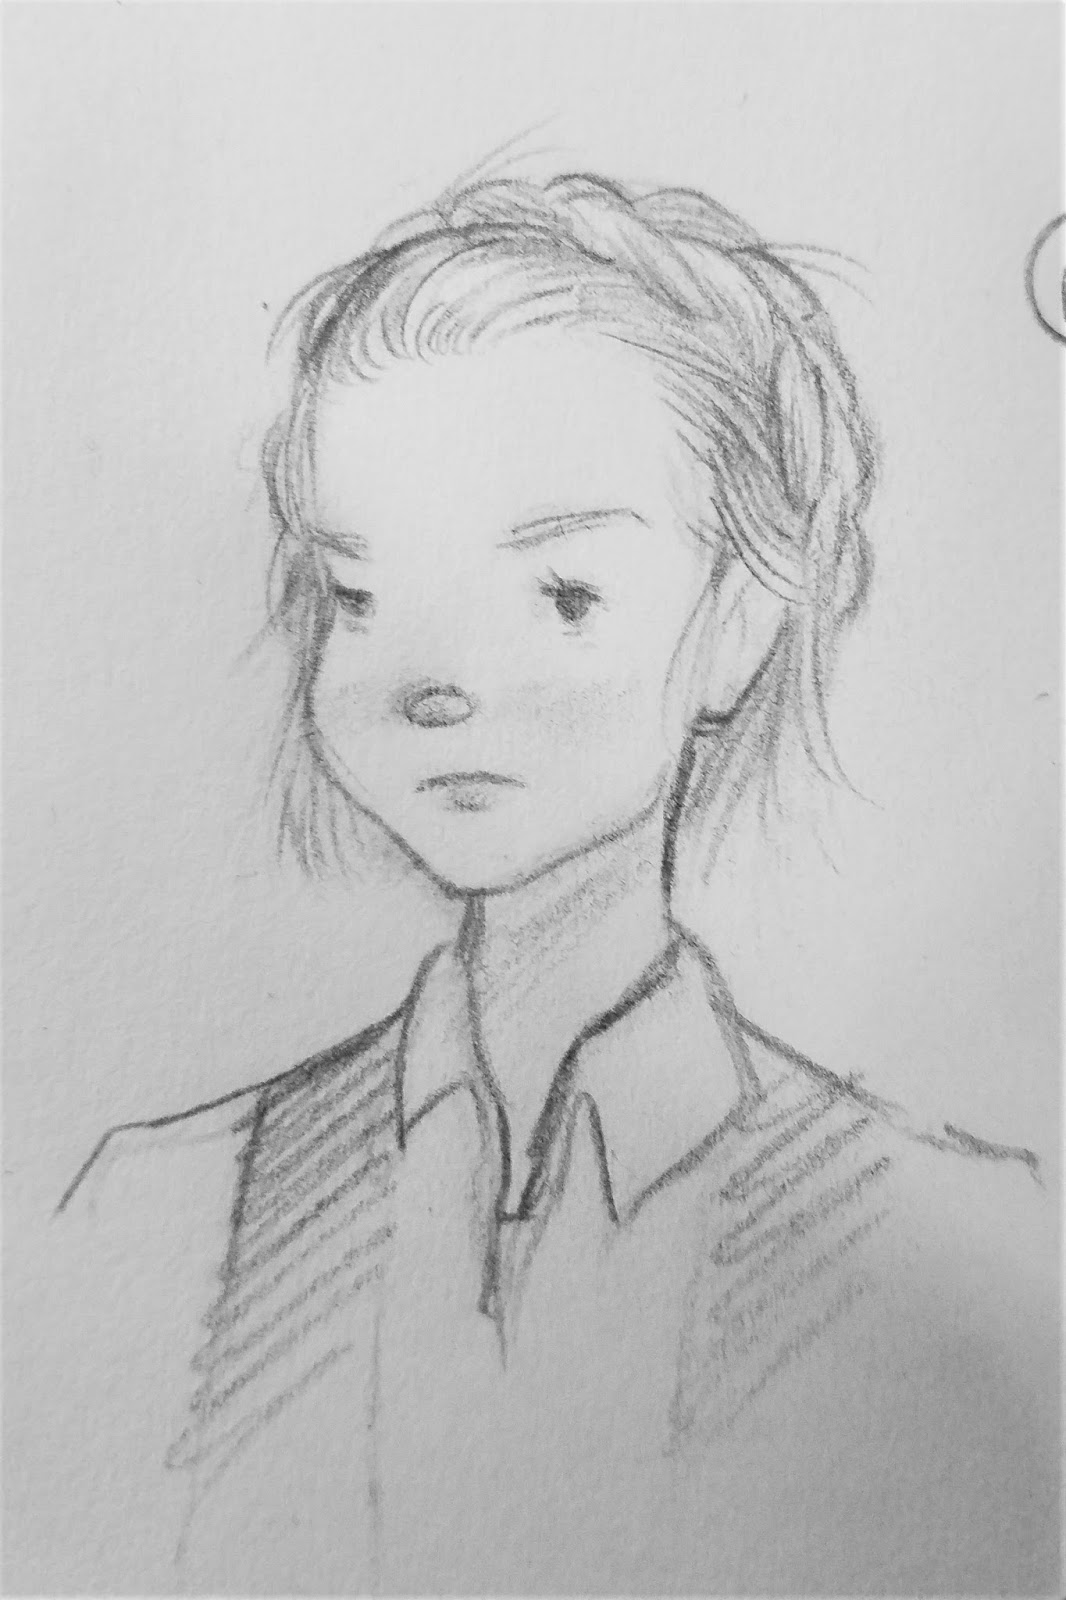
First, I started out with some concept sketches -


Once the client was happy with the character design and layout of the shadow box, I started moving forward with painting the individual pieces for the shadow box. I use Arches watercolor paper and sketch out the characters and objects, then I do some light acrylic washes over the top and build up the layers from there. Once I get the pieces to their completed state, then I cut the pieces out using some itty-bitty scissors.
I didn't do such a great job taking photos of this step, but you get the basic idea!


I used string and some transparent gold vellum to make the string lights look a little more exciting! I also used string for the stars.
Once all of the pieces are cut out, I use a long rectangle of watercolor paper to mount to the back of the piece so that it gives it a "pop-up" effect when I layer them in the box!
Here is the final product! -


In the future, I will try to take more detailed progress shots so it's a little easier to follow what I am doing!
I had another personalized shadow box commission for Mother's Day - it was a Star Wars-themed shadow box and it was WAY too much fun to paint!
Here were some of the concept sketches and character designs -


Starting to arrange everything on the watercolor paper at this stage! I measure out the size of the box and the pieces inside of it appropriately before painting anything so I can make sure I won't have any issues with fitting the pieces in the box when it's all done!

Here is a better look at what the pieces look like in the in-between stage before they are mounted in the shadow box -


...And finally - the finished product! We added a little chuck of Tauntaun meat last minute. 😆


Here's another fun Mother's Day commission I got to do! I sketched it out on Mixed Media paper first with a Prismacolor Col-Erase pencil and then filled in the colors with Copic markers and a black Prismacolor pencil for the outlines. Highlights were done with a gel pen!

I just wanted to take a moment before wrapping up this blog post to show you all the wonderful and amazing photography by Tenette Espinoza (click HERE to check out more of her gorgeous work!) She took some awesome photos of me drawing and playing piano in my house the other day and I am in love with them. I'm not super great at posing for photographs, but she always makes me feel super cute and comfortable. I highly recommend her for any photography needs you have!


Thank you all so much for your continued support! Love you all! Have a nice Memorial Day weekend!
Cheers,
xoxo Ashley
I saw your shadow boxes on Instagram and thought they were absolutely adorable! I love that you took the time to take some progress shots to share on the blog. It's lovely seeing how it all comes together. 🖤
ReplyDeleteAsti @ bit.ly/atypicalnarrative
Thank you so much! You are too kind. I'm glad you enjoyed it! It's definitely weird to show people my progress (since I'm not super comfortable showing my art to people until it's where I want it to be), but I think I am going to start trying to do it more! I know I always appreciate when other artists show their progress. :)
Delete